Changing a lawn tractor tire is a straightforward task you can accomplish yourself, saving time and money. This guide provides clear, step-by-step instructions, empowering you to get back to mowing in about 30 minutes. For help choosing the right replacement, check out this guide on tractor tire sizes.
Tool Requirements
Before you begin, gather these essential tools. Having everything readily available streamlines the process.
- Jack: A jack with a weight capacity exceeding your lawn tractor's weight is crucial. (Ensure the jack's capacity is sufficient to lift your tractor safely.)
- Jack Stands: Absolutely necessary for safety. These securely support the tractor, preventing it from falling while the wheel is removed. (Never rely solely on the jack for support.)
- Lug Wrench: This tool loosens and tightens the nuts securing the wheel to the axle. (A socket-style lug wrench is often easier to use.)
- Tire Irons (or Tire Spoons): These tools help remove and install the tire on the rim. (These specialized tools are essential for efficient tire changes.)
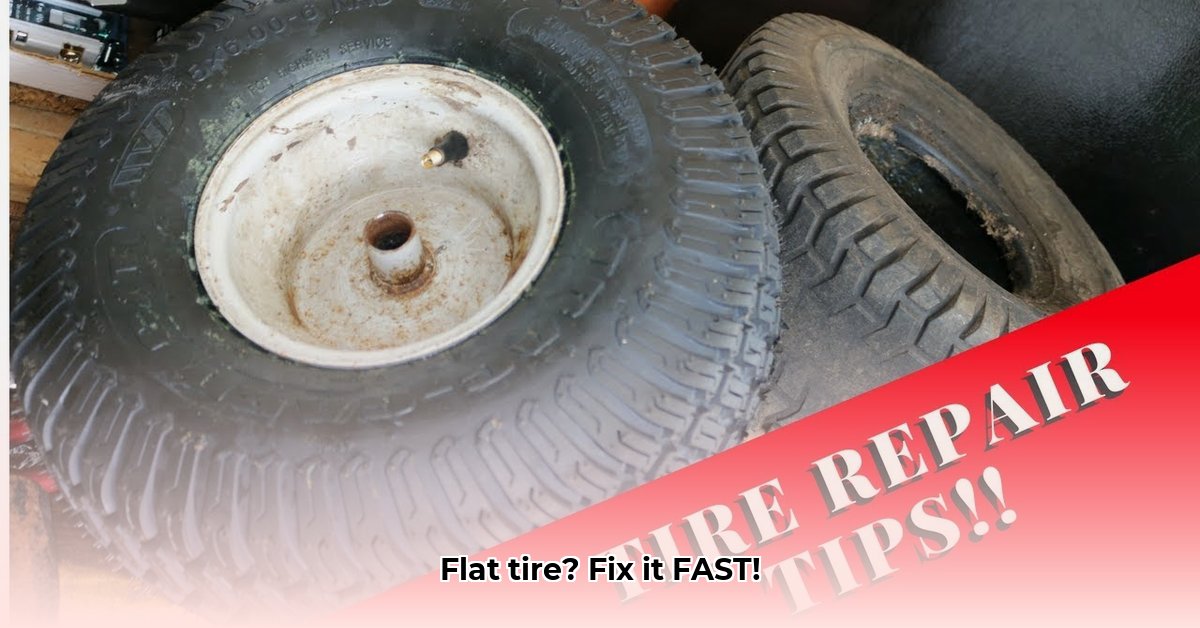
- New Tire: Purchase a new tire matching the size of your existing tire. (Check the sidewall of your old tire for the exact size and specifications.)
- Work Gloves: Protect your hands and provide better grip. (These are essential for protecting yourself from potential cuts and dirt.)
- Wheel Chocks: Prevent accidental movement of the tractor during the procedure. (Place these firmly against wheels that remain on the ground.)
- Penetrating Oil (Optional): Use this to loosen stubborn lug nuts. (PB Blaster is a commonly used brand.)
- Lubricant (Optional): Use this to lubricate the tire bead, aiding in easier tire installation. (Soapy water is a readily-available and effective choice.)
- Air Compressor (Optional): Accelerate the inflation process after installing the new tire.
Step-by-Step Procedures
Safety is paramount. Follow these steps meticulously:
Safety First: Engage the parking brake firmly. Securely position wheel chocks against the wheels remaining on the ground. Disconnect the spark plug wire to prevent accidental engine starting. (This prevents the engine from unexpectedly starting during the repair.)
Jack Up Carefully: Position the jack under the tractor's frame at a stable point, ensuring it is level. Slowly raise the tractor until the tire requiring replacement is completely off the ground. Immediately position the jack stands firmly under the frame supporting the tractor's weight. (The jack is for initial lift only; jack stands provide primary support.)
Remove the Wheel: Use the lug wrench to loosen the lug nuts by turning counterclockwise. Once loosened, completely remove the nuts and store them safely. Remove the wheel from the axle. (Keep the lug nuts organized to prevent loss of any.)
Tire Removal: Employ the tire irons to pry the tire bead (the edge of the tire) away from the rim. This often requires considerable effort. If the bead is stubborn, apply penetrating oil or soapy water. Work methodically around the entire circumference to remove the tire from the rim. (Do this carefully to prevent rim damage.)
Install New Tire: Carefully mount the new tire onto the rim, ensuring it sits evenly. Use the tire irons to work the opposite bead over the rim. (This step demands care and patience; work slowly to ensure a snug fit.)
Inflate and Inspect: Inflate the new tire to the pressure specified on the sidewall. Visually inspect to ensure the tire bead is seated correctly on the rim. (Uneven seating may require re-adjustment before proceeding.)
Reattach Wheel: Mount the wheel onto the axle. Hand-tighten the lug nuts. Lower the tractor using the jack, controlling the descent. (Do this slowly and carefully to prevent damage.)
Final Tightening: Use the lug wrench to tightly secure the lug nuts, tightening them in a star pattern (opposite nuts sequentially) for even pressure distribution. (This prevents warping of the wheel.)
Potential Difficulties and Solutions
Stuck Tire Beads: If tire beads resist removal, use more penetrating oil and/or additional leverage. A helper may prove beneficial. Gentle heat application (with extreme caution!) may help soften the rubber.
Bent Rim: A bent rim significantly complicates tire changes. If suspected, professional assistance or rim replacement is necessary. (Attempting to mount a tire onto a bent rim can lead to dangerous situations.)
Incorrect Tire Size: Always verify the new tire's size matches the old tire's size. (Using the wrong size can cause serious damage and safety hazards.)
Pro Tips and Preventative Maintenance
- Regular tire pressure checks minimize flat tire occurrences.
- Store the tractor under cover or in a garage to protect tires from the elements.
- Frequently inspect tires for cuts, bulges, or embedded debris.
Remember, prioritize safety. If you encounter difficulties, seek professional assistance.